One of the advantages of Microsoft having many customers using its services is that Microsoft can leverage data from those customers and apply some real fancy Machine Learning on that data, coming from Azure AD, Microsoft Accounts and even Xbox services.
Based on all that data the Machine Learning capabilities are able to identify identity risks. Based on the risk, automatic investigation, remediation and sharing of that data with other solutions able to leverage it is possible. The outcome of risk is expressed as either High, Medium, Low or No Risk. This outcome can later be used to define policies.
By leveraging Azure AD Identity Protection you are able to use the signals provided by Microsoft and trigger “actions” – the signals can also be leveraged in your conditional access policies.
This article covers the following topics:
- Examples of using Identity Protection
- Licensing
- How is risk determined?
- Portal Walkthrough
- Policy behavior
- Conclusion
- References
Disclaimer: This post reflects the status of Azure AD Identity Protection as of April 7th 2020. Functionality may change, even right after this post has been published.
Examples of using Identity Protection
If for a user, it’s determined that he/she has a high-risk level (as provided by the ML capabilities coming from Microsoft), we can either block access, allow access or allow access but require a password change.
If for a user, it’s determined that his/her sign-in risk level is high, we can either block access, allow access, or allow access but require a MFA.
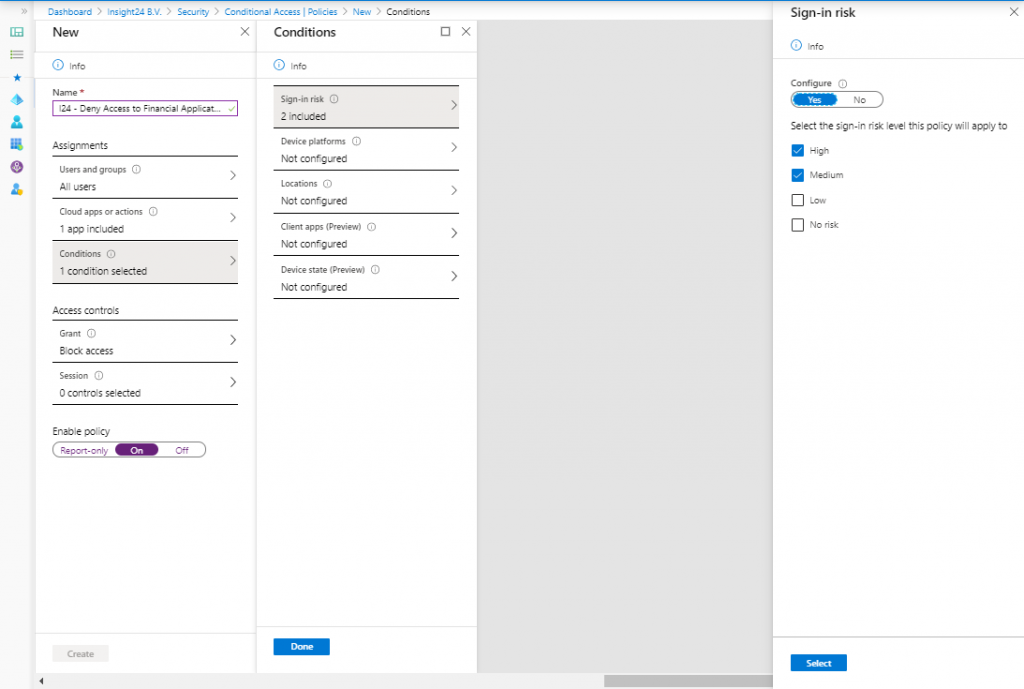
Within Azure AD Conditional Access, we can provide the sign-in risk level as a condition in our Conditional Access policy. We can then for example, deny access to our finance application if the sign-in risk is Medium or High. See my series of blogposts about Conditional Access for more information on how to create Conditional Access policies.
Licensing
Based on your Azure AD licensing you can leverage the functionality of Azure AD Identity protection. If you want to use all the functionality though, an Azure AD Premium P2 license is necessary. And since your users benefit from the functionality, you can assume you must license all of your users or define a set of users whom you want to protect using this functionality. See License Requirements for more information.
Note: Licensing is always a challenge and can lead to some strange outcome, read my article titled: “License requirements for administering Microsoft 365 services” to get an idea.
How is risk determined?
Risk is determined based on identified suspicious actions related to user accounts in your Azure AD. Within risk, we either have “User Risk” or “Sign-In risk” where some detections are real-time and others are non-real-time, which Microsoft calls Offline.
User Risk
A user risk is based on the probability that the identity is compromised. This is either determined by Microsoft finding leaked credentials, or by using Azure AD threat intelligence which can compare user activity with known attack patterns.
Sign-in Risk
A sign-in risk is based on the probability that the authentication request itself is compromised. Detections are based on Anonymous IP address, Atypical travel, Malware linked IP addresses, Malicious IP addresses, Unfamiliar sign-in properties, Suspicious inbox manipulation rules, Impossible travel or by an Admin who confirms a user being compromised manually from the portal.
Both Suspicious inbox manipulation rules and impossible travel signals are provided by Microsoft Cloud App Security (MCAS), another great example of products sharing data with each other for the better.
If you are not licensed for Azure AD Premium P2, you might see the “Additional risk detected” which is either one of the risk detections mentioned but cannot be seen due to the license in place.
If you want to know more about the risk detection, I suggest to read the following article on Microsoft Docs: What is risk?
| Sign-in Activity | Risk Level |
| Sign-ins from IP addresses with suspicious activity | Low |
| Sign-ins from unfamiliar locations | Medium |
| Sign-ins from infected devices | Medium |
| Sign-ins from anonymous IP addresses | Medium |
| Impossible travel to atypical location | Medium |
| Users with leaked credentials | High |
Portal walkthrough
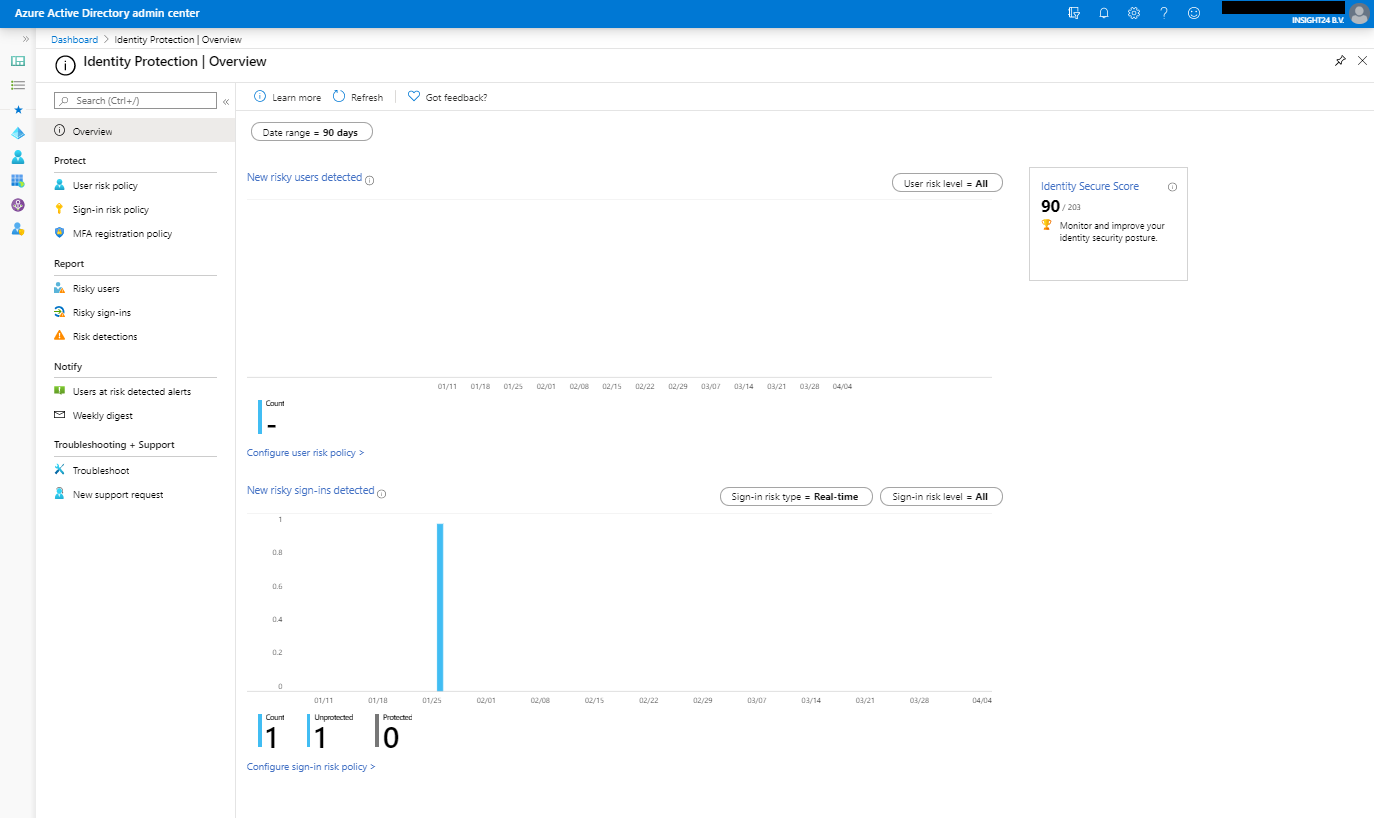
Azure AD identity protection is available either by searching for Identity Protection in the Azure Portal or by browsing to Manage | Security | Identity Protection from the Azure AD management portal. Once opened the portal will look similar to the picture below, keep in mind that we do not have much users in my tenant, so in a bigger tenant more data will probably be available.
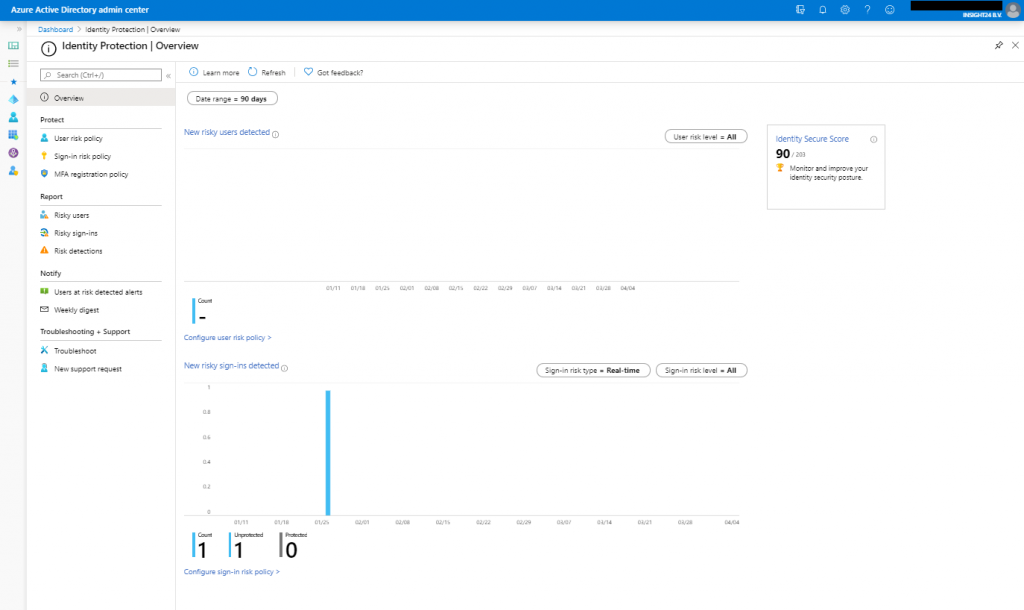
With the portal there are 4 sections, Protect, Report, Notify and Troubleshooting + Support, let’s go into some more detail for each of them.
Protect
Under protect we can create User risk, Sign-in risk and MFA registration policies. While these policies are similar to Conditional Access policies, they aren’t the same. This sometimes can cause some confusion, because the most obvious place to look for policies like this would be under Conditional Access and not under Identity Protection.
User risk policy
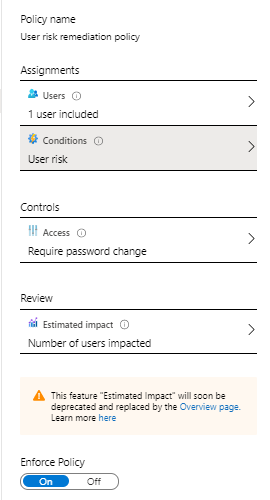
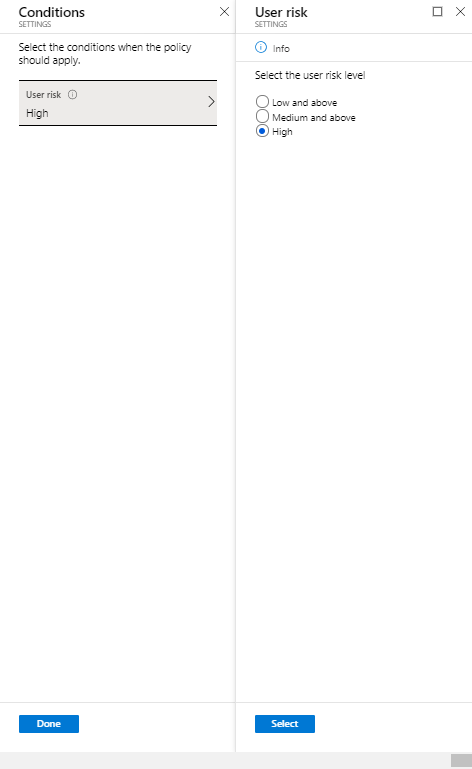
The user risk policy allows you to either block access, allow access or allow access but force a password change for users with a certain user risk defined.
Sign-in risk policy
The sign-in risk policy allows you to either block access, allow access or allow access but force a MFA challenge for sign-ins considered with a certain risk.

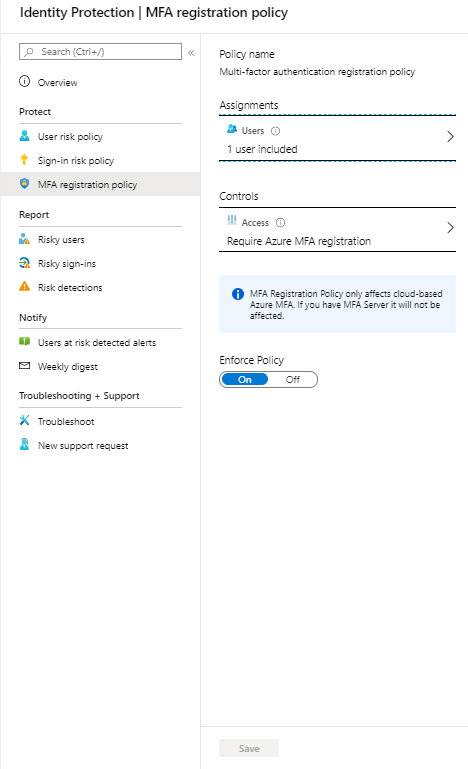
The MFA registration policy allows you to force users to do a MFA registration before continuing their login via Azure AD.
Report
Under reports we can find reports on risky users, risky sign-ins and risk detections.
Risky user
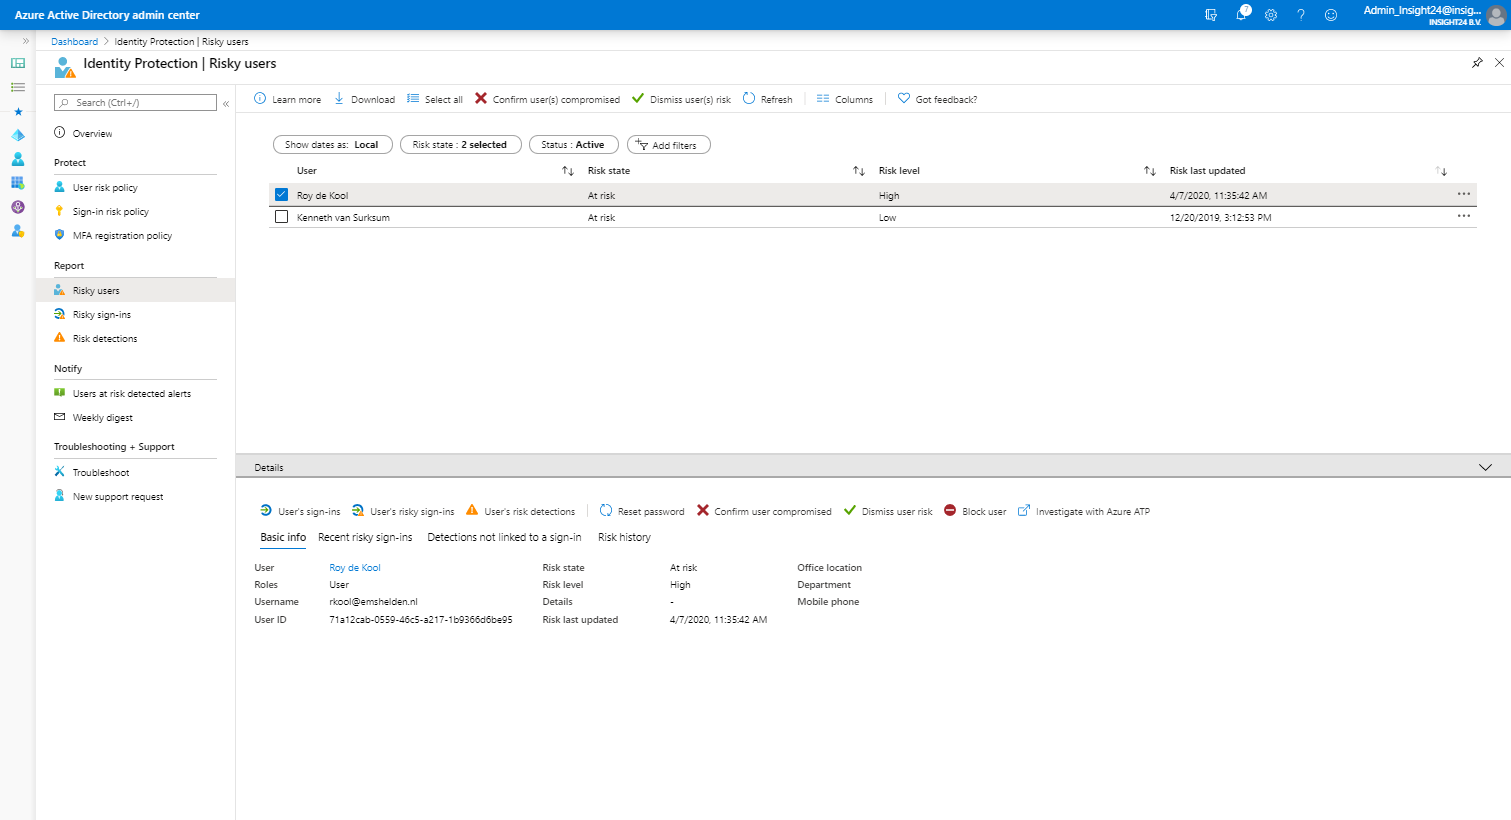
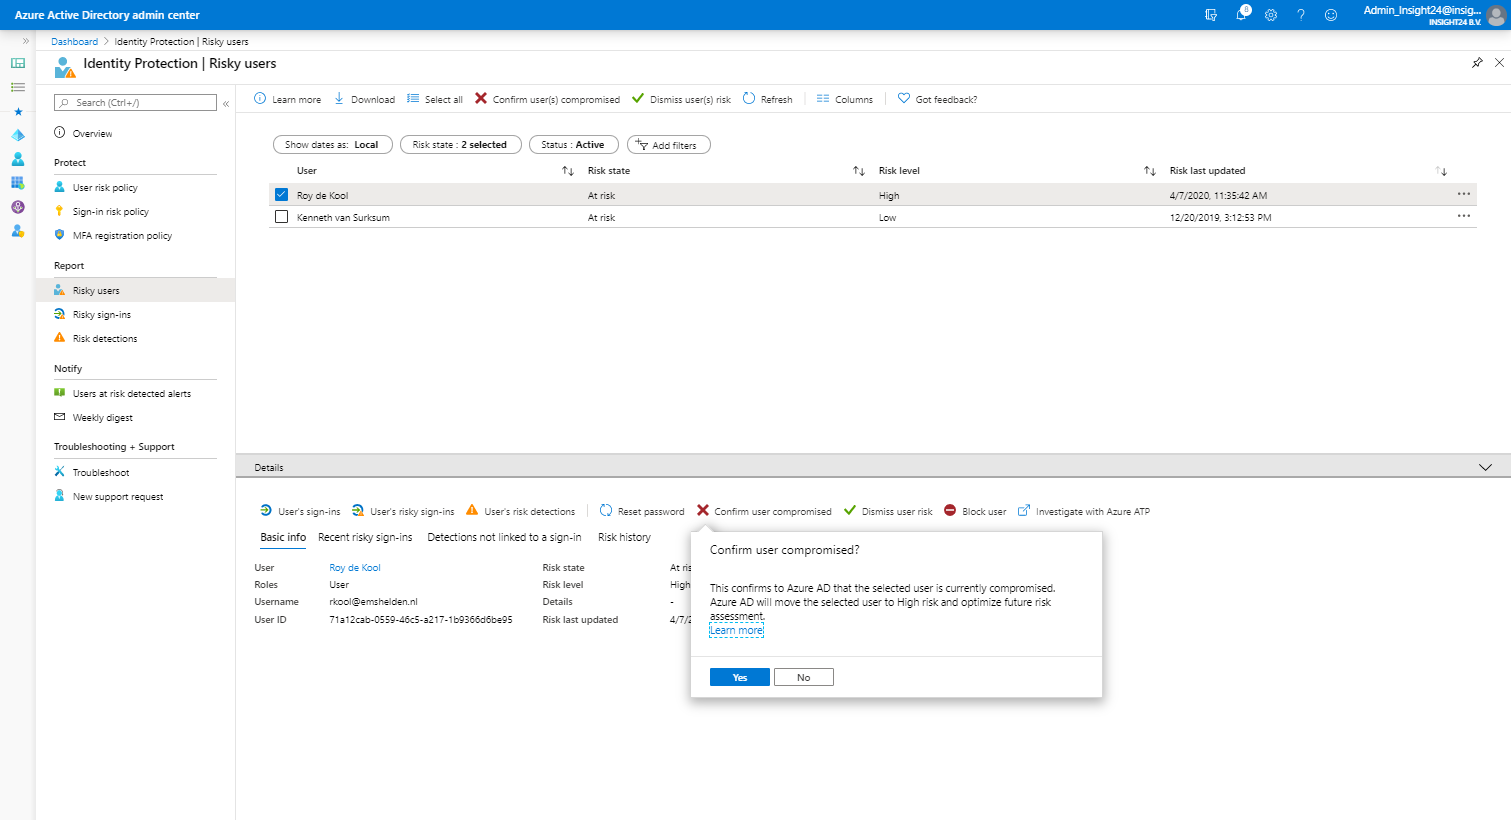
For each risky user, you have the option to view data like: User’s sign-ins, User’s risky sign-ins and User’s risk detections. Besides that you have the option to: Reset the password, Confirm user compromised, Dismiss user risk, block user and Investigate the user with Azure ATP (opening a new window)

Risky sign-in
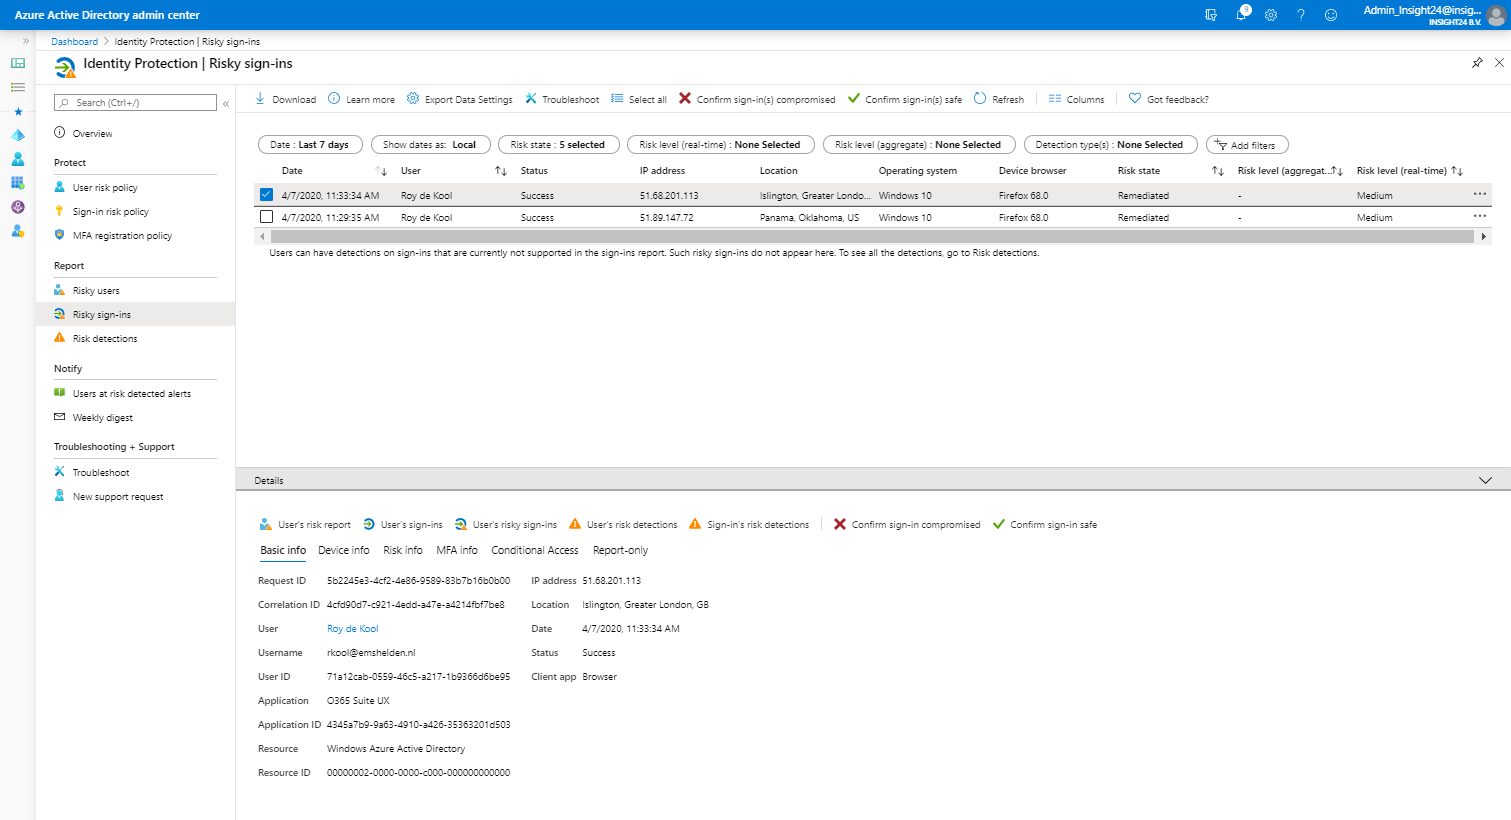
For each risky sign-in, which can be more than one for a specific user, you see more detailed information about the Location, IP address, Operating System and Device Browser used when the risky sign-in took place. Once a risky sign-in is selected you have the same options available for the user as described at risky user.
Risk detections
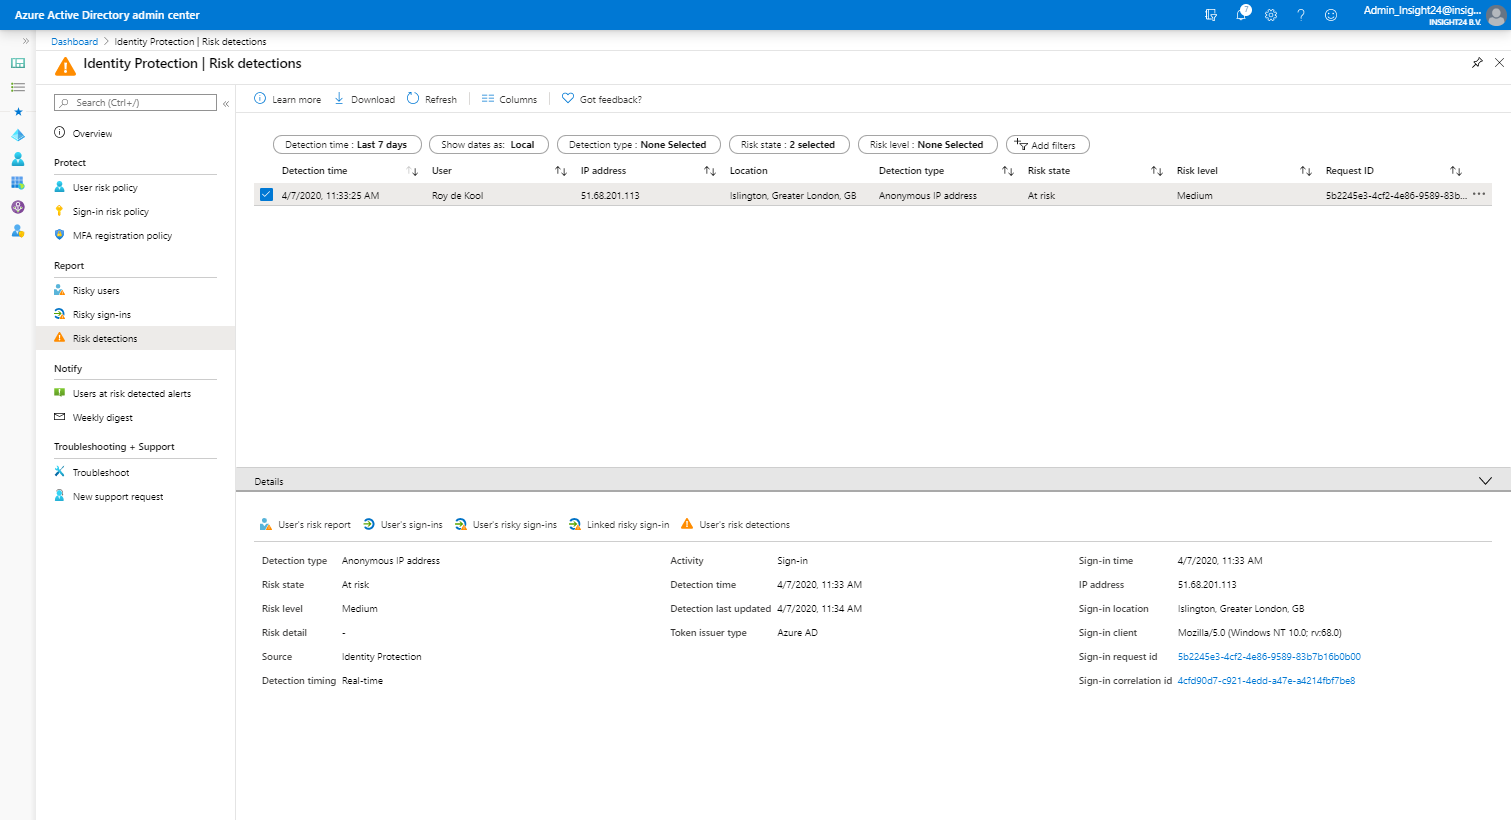
Risk detections shows the type of Risk detected, the IP address and the location, also here, once an event is selected you have the same options available as described at risky user.

Notify
Users at risk detected alerts
Under notify you can configure who needs to be notified by email is a certain risk level is detected. You can alert on Low and above, Medium and above and High. Emails are sent to the following users. New global admins, security admins and security readers will be added to this list by default and can also only be selected. You also have the option to include additional email addresses which receive a notification as well.
Weekly digest
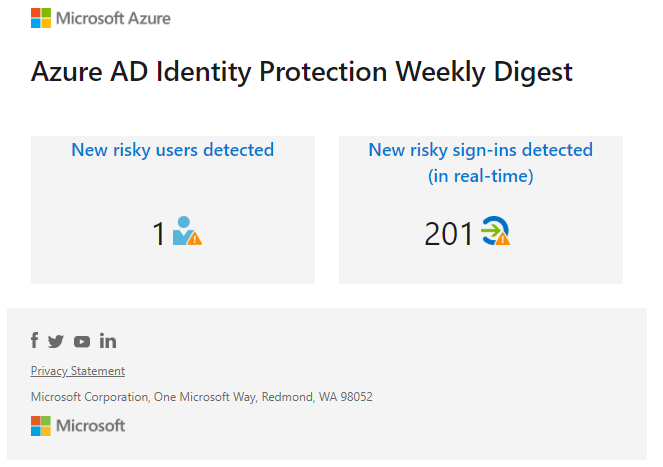
You can also enable the option to send out a weekly digest, new global admins, security admins and security readers will be added to this list by default and can only be selected. If you need to add users who are eligible for any of these roles make sure that they are activated if you want to add them to the list.
Troubleshooting and Support
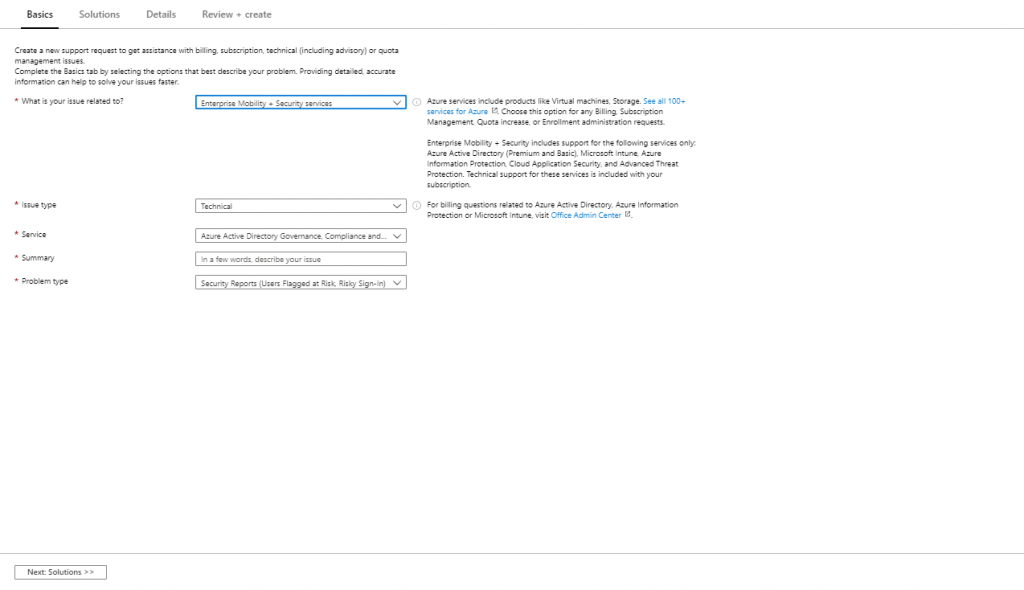
Under troubleshooting you can find some common problems, at time of writing there are not common problems described, but this can change in the future. Here you also have the option to create a new support request.
Policy behavior
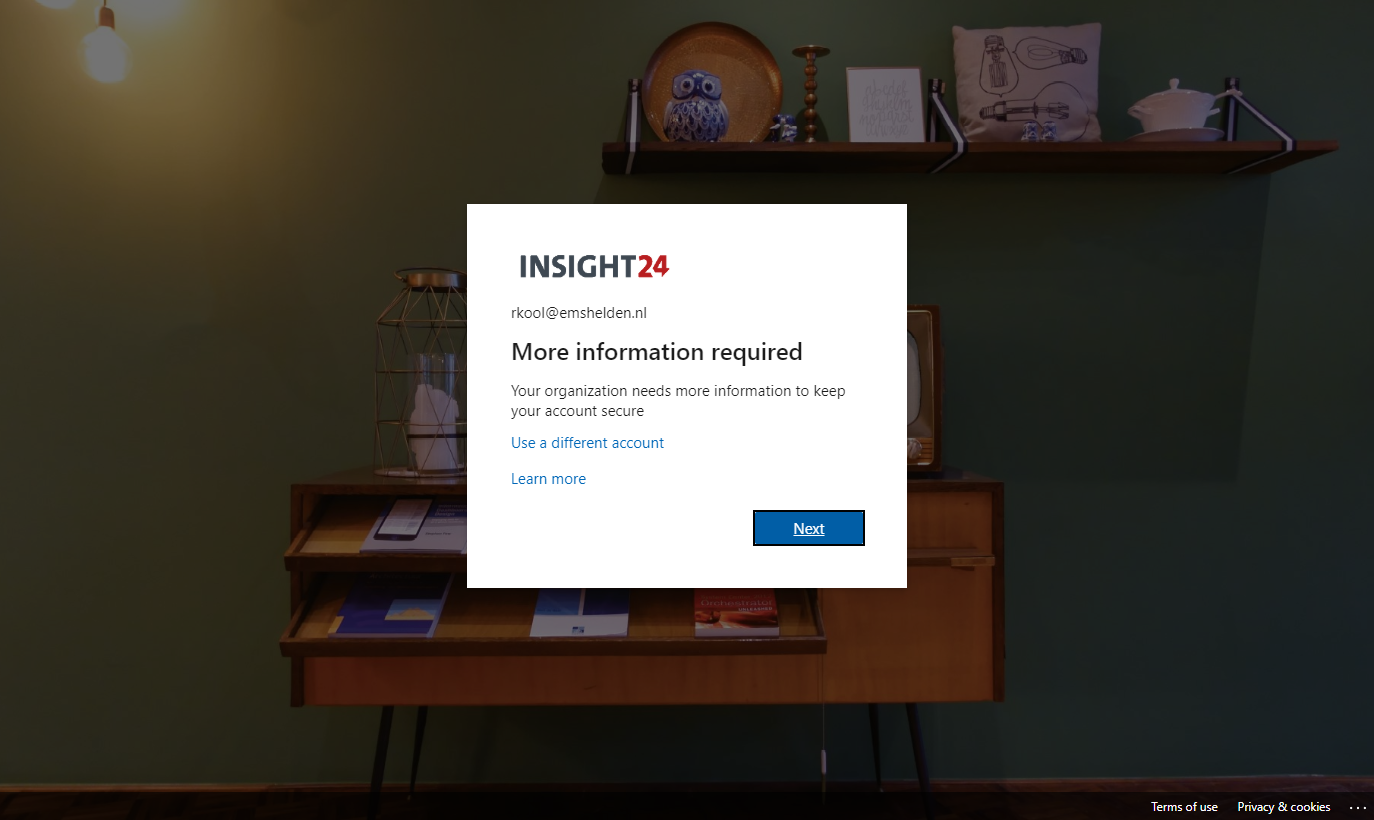
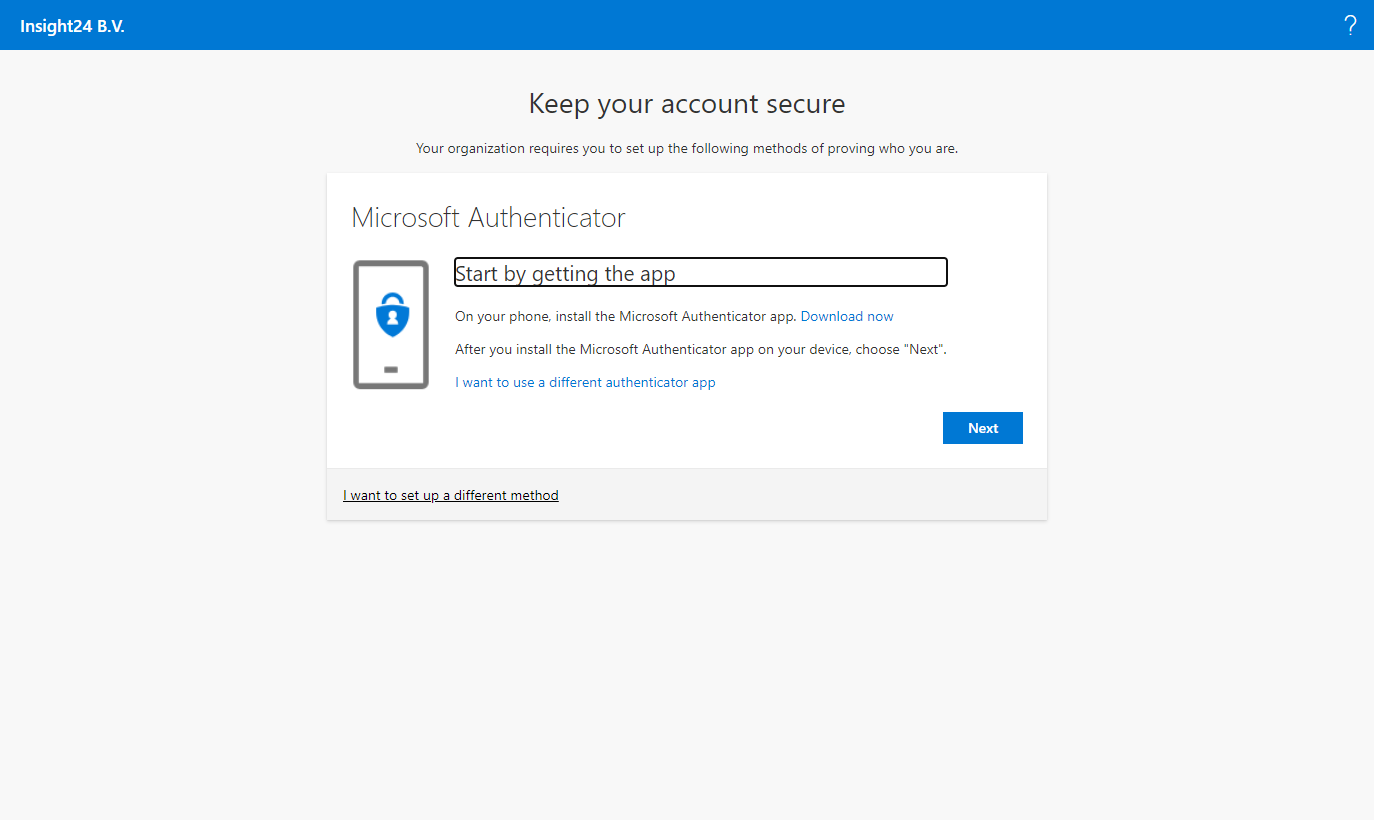
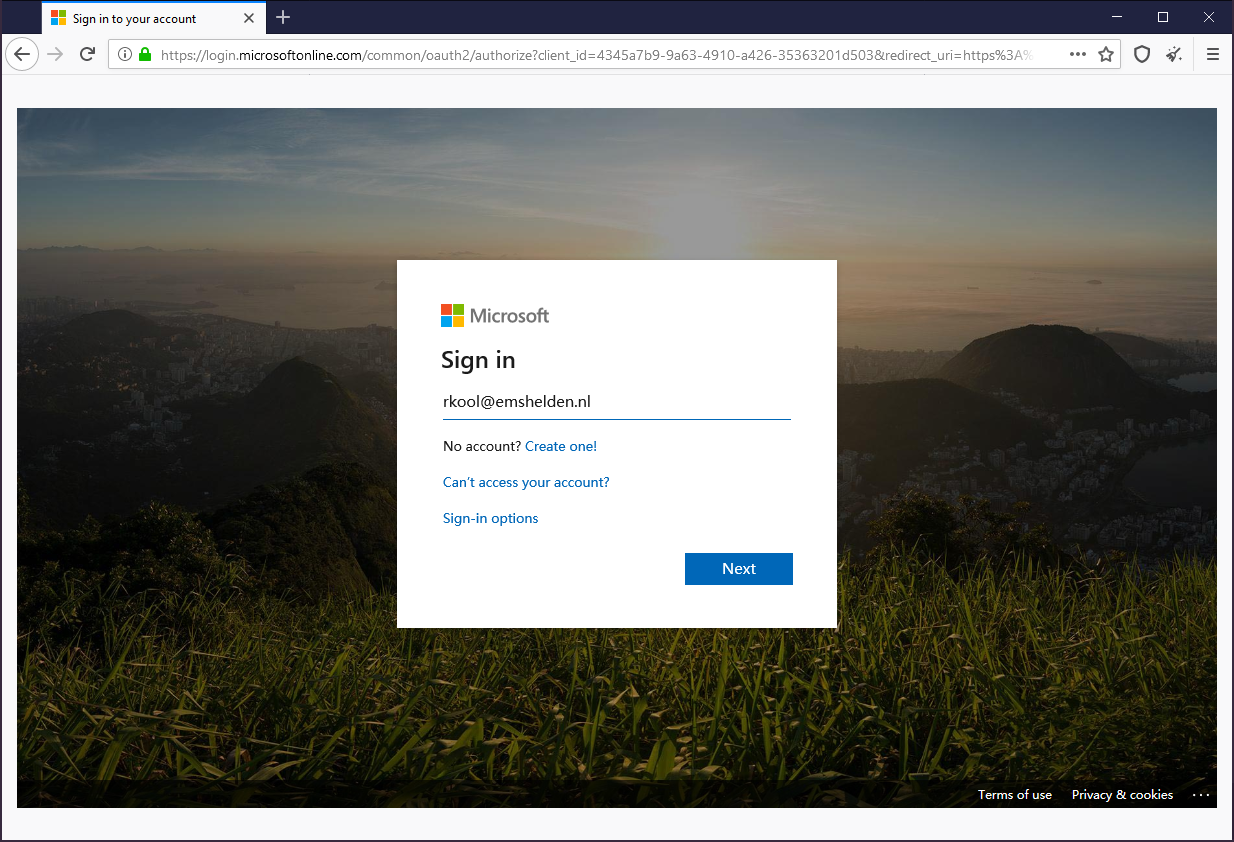
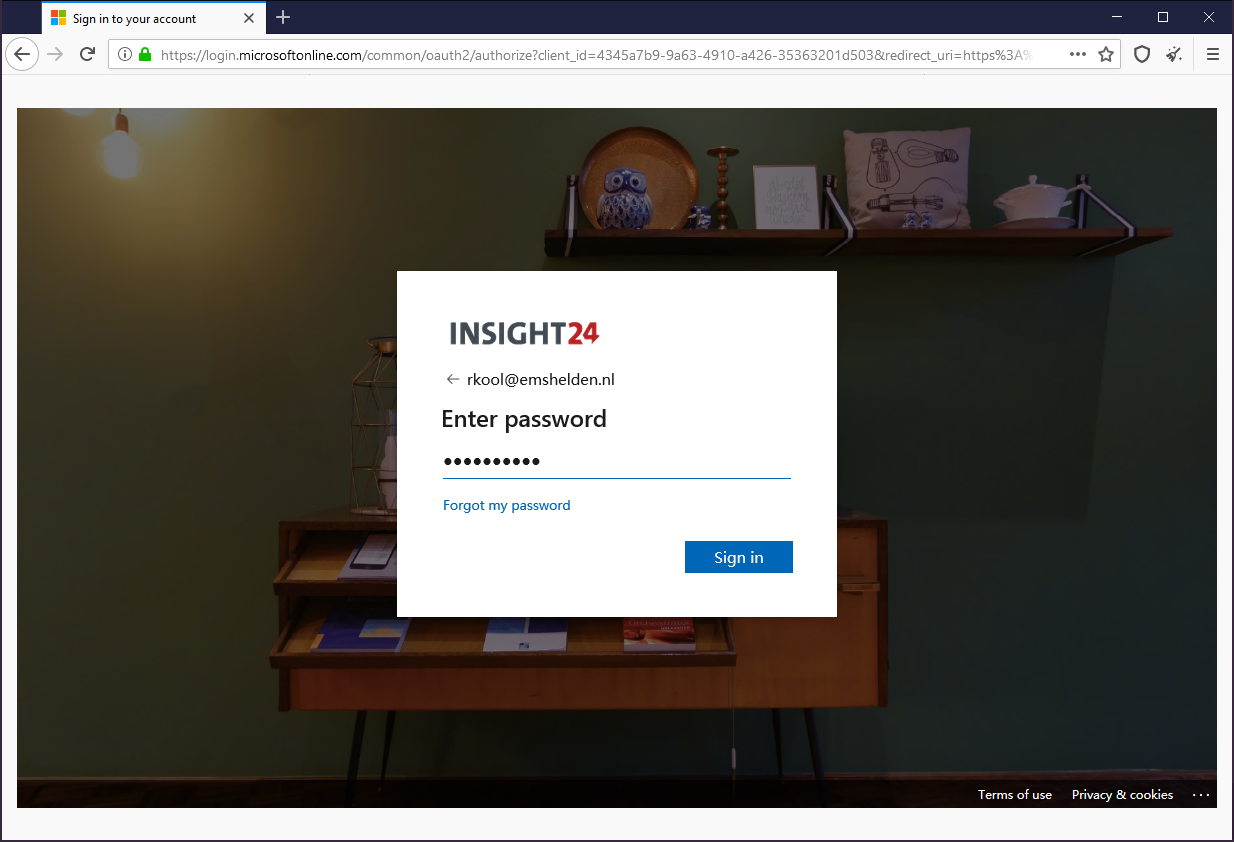
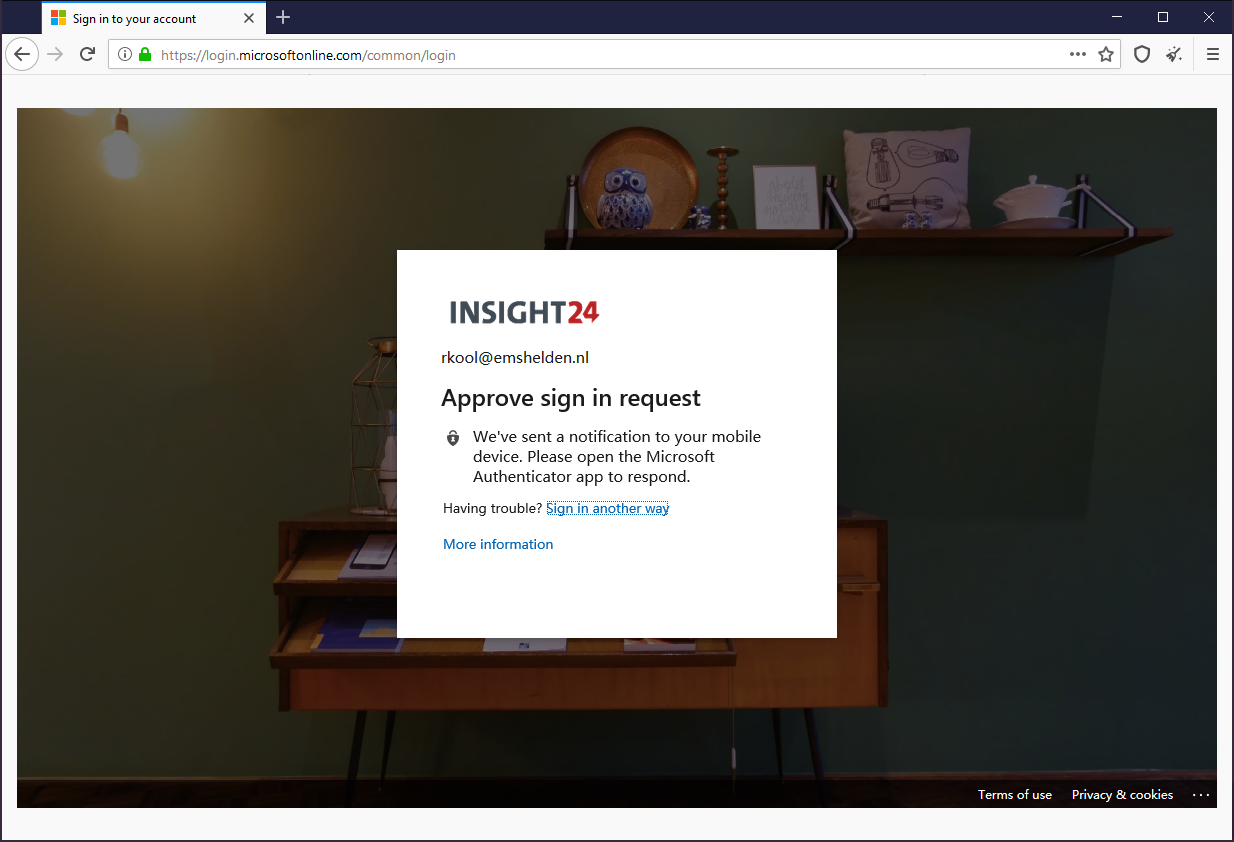
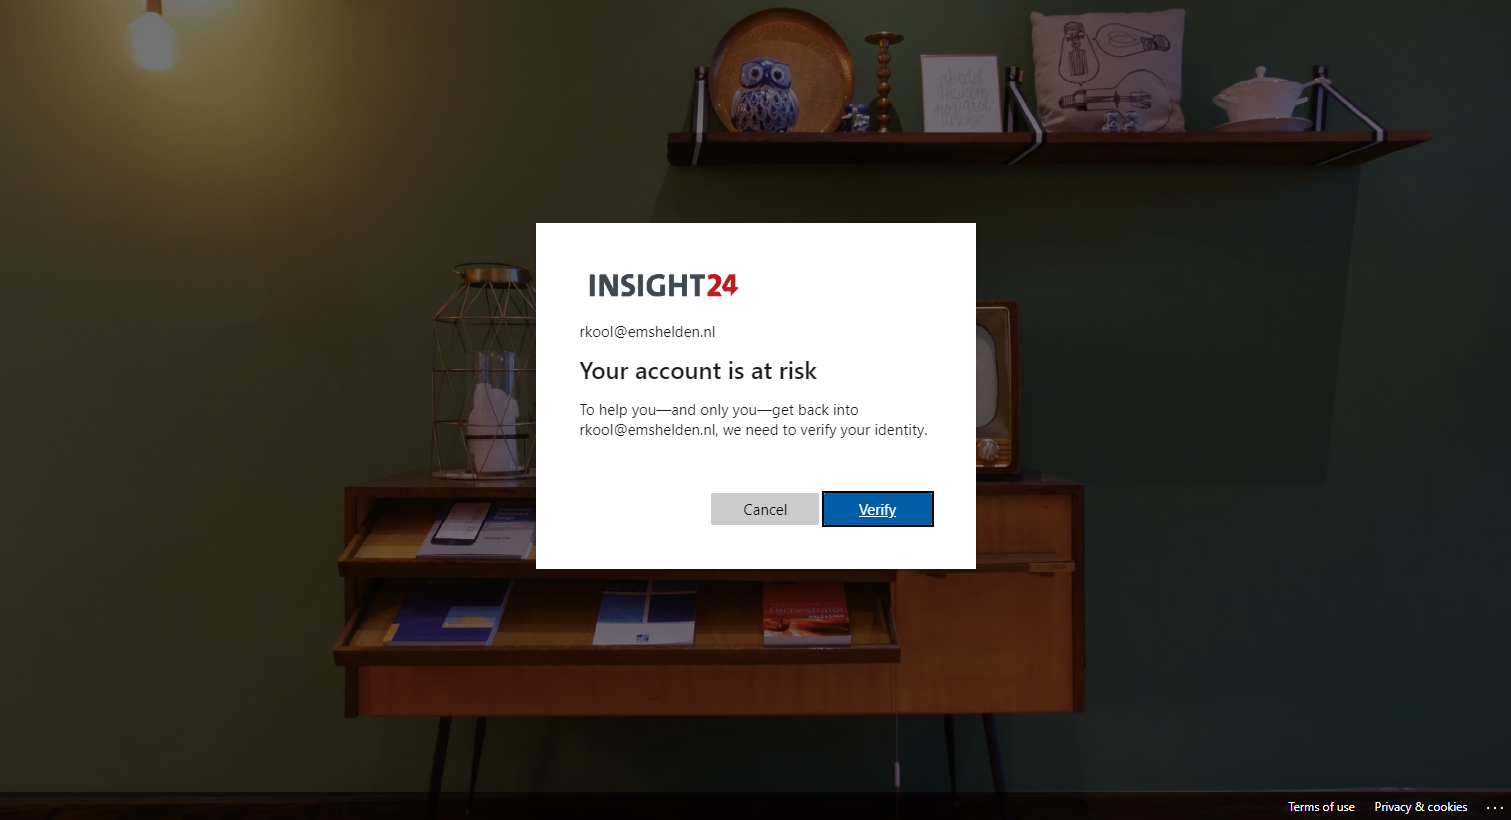
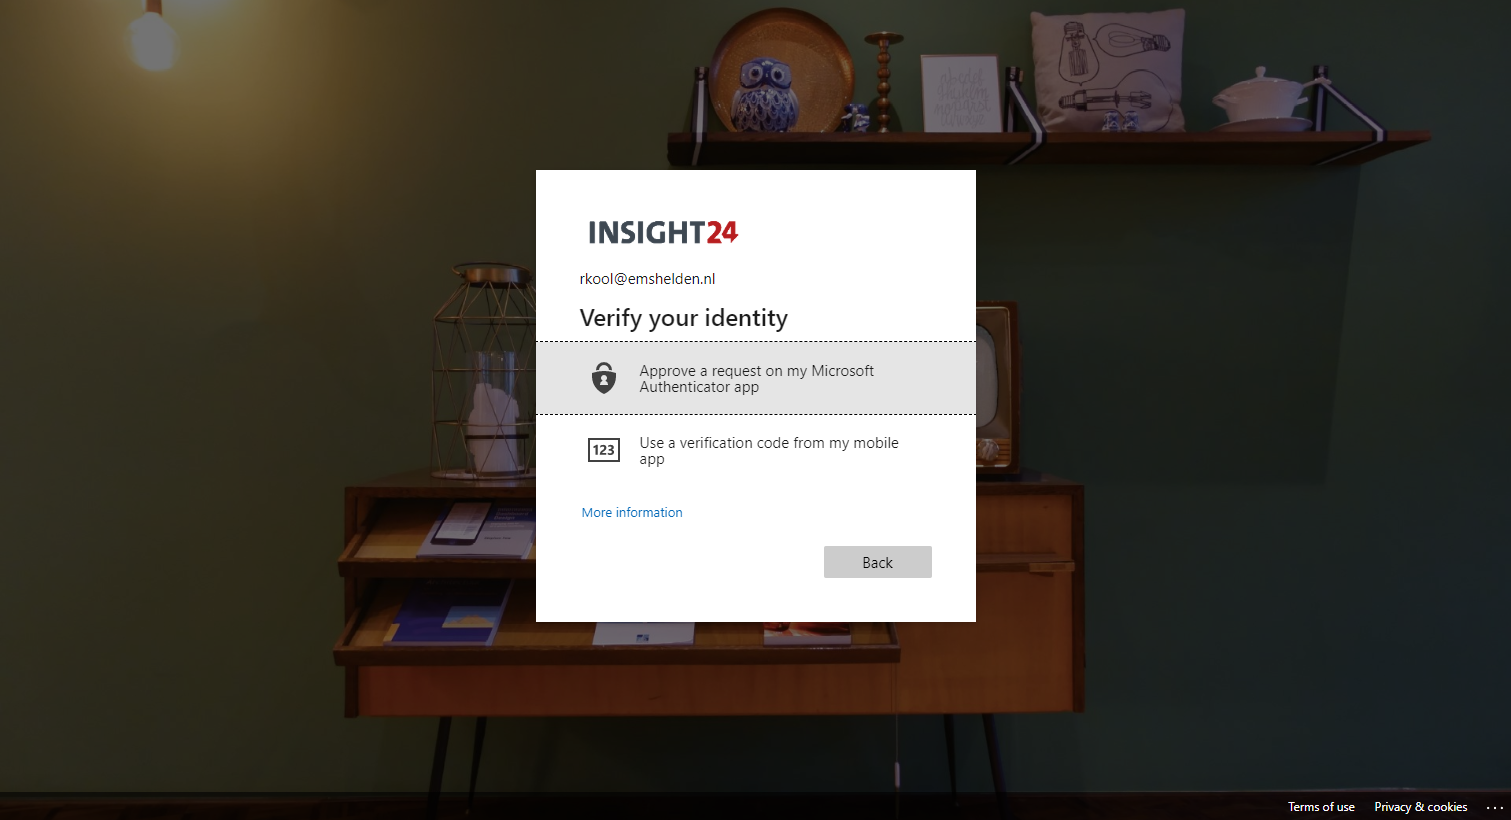
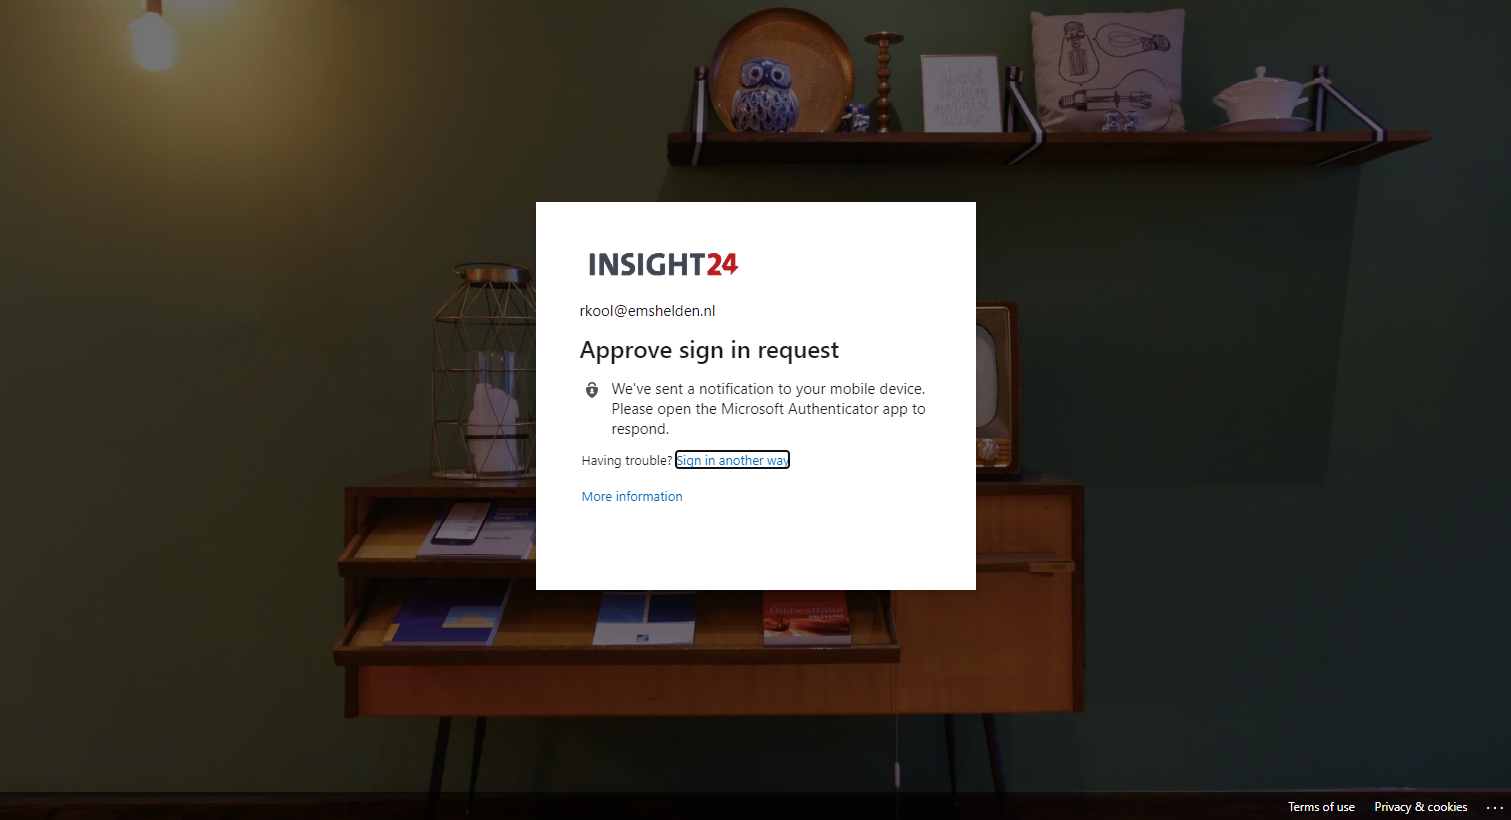
Below is two galleries with displaying the behavior from an end-user point of view if the MFA registration policy and User risk policy have been enabled.
MFA registration policy behavior
User risk policy behavior
We can test whether user risk is working by using the Tor browser, by using the Tor browser we can mimic unusual behavior for the user, which then receives a high risk rating.
Conclusion
Azure Active Directory Identity Protection provides some really useful features which can help to automate and mitigate security related incidents.
Big disadvantage is the way that it’s currently licensed, making the functionality only available for user licensed with Azure AD Premium P2 or E5 licenses.
If you have the necessary licenses available, then implementing Azure AD Identity Protection is a must-have solution in my opinion. I hope this article helped you to get an idea of what it can do, and how to implement it in your organization.
References
What is Azure Active Directory Identity Protection?
Eight essentials for hybrid identity #3: Securing your identity infrastructure


Hi, you are one of the only ones that has an overview of the Sign-in activity and matching Risk level. I was searching but could not find an (up-to-date Microsoft) page that has all of them. Do you know where to find that by any chance?
Hi Jop,
I don’t have a clue anymore where I got that information at that time, it was probably documented in the MS documentation, but I see now that it has been removed. That might also mean that the information in this blogarticle is not relevant anymore when it comes to sign-in activity and matching risk level.
/Kenneth